Almost every remake we see traces back to information that was missing when the case arrived, not to a failure at the bench. This is what closes that gap.
Regardless of case type, these six items should be present. A prescription missing any of them will usually generate a phone call before we start.
The most useful prescriptions describe the intended outcome rather than only the mechanics — whether the patient wants the restoration to blend or to brighten, whether they have rejected a previous attempt, whether the contralateral tooth is the reference or is itself being replaced later. We cannot infer intent from a tooth number.
| Case Type | Also Send | Why |
|---|---|---|
| Anterior aesthetic | Shade photographs with tab in frame | Shade codes alone do not carry value or translucency |
| Veneers | Pre-op photographs, stump shades | Thin ceramic shows the underlying tooth |
| Implant restoration | Implant system, platform, scan body type | Component libraries are not interchangeable |
| Full arch | Facial photographs with the interpupillary line level, midline reference | Tooth position is set from the face, not the arch — a tilted camera transfers as a canted smile line |
| Removable partial | Full-arch scans of both jaws plus the bite, and a note on which teeth to clasp | We survey digitally from the scan — capture the full gingival contour and any undercuts, and tell us your design intent |
| Bite change or reorganisation | A written prescription of the intended occlusal scheme, plus records | Without one we default to a posteriorly stable bite with canine guidance where the case allows it |
| Remake or adjustment | Original case number, what failed | Repeating the same design repeats the same result |
Four photographs, taken in under a minute, remove most of the uncertainty from an anterior case. A phone camera is adequate if the protocol is followed.
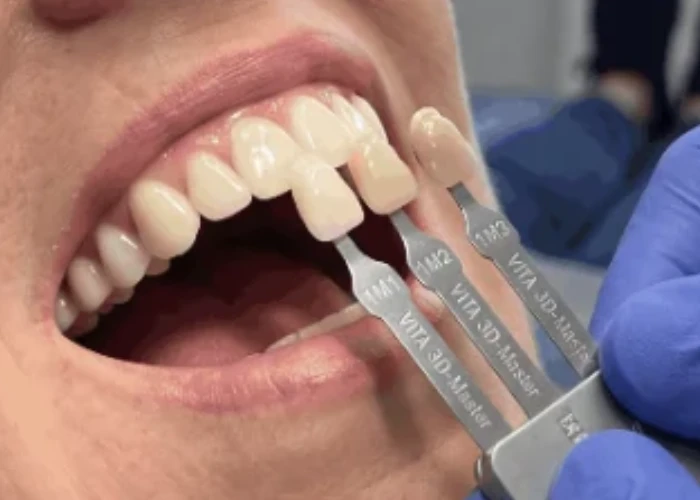
Hold the shade tab edge-on against the tooth being matched, in the same plane and at the same distance from the camera. A tab held in front of or behind the tooth reads as a different shade because it catches the light differently.
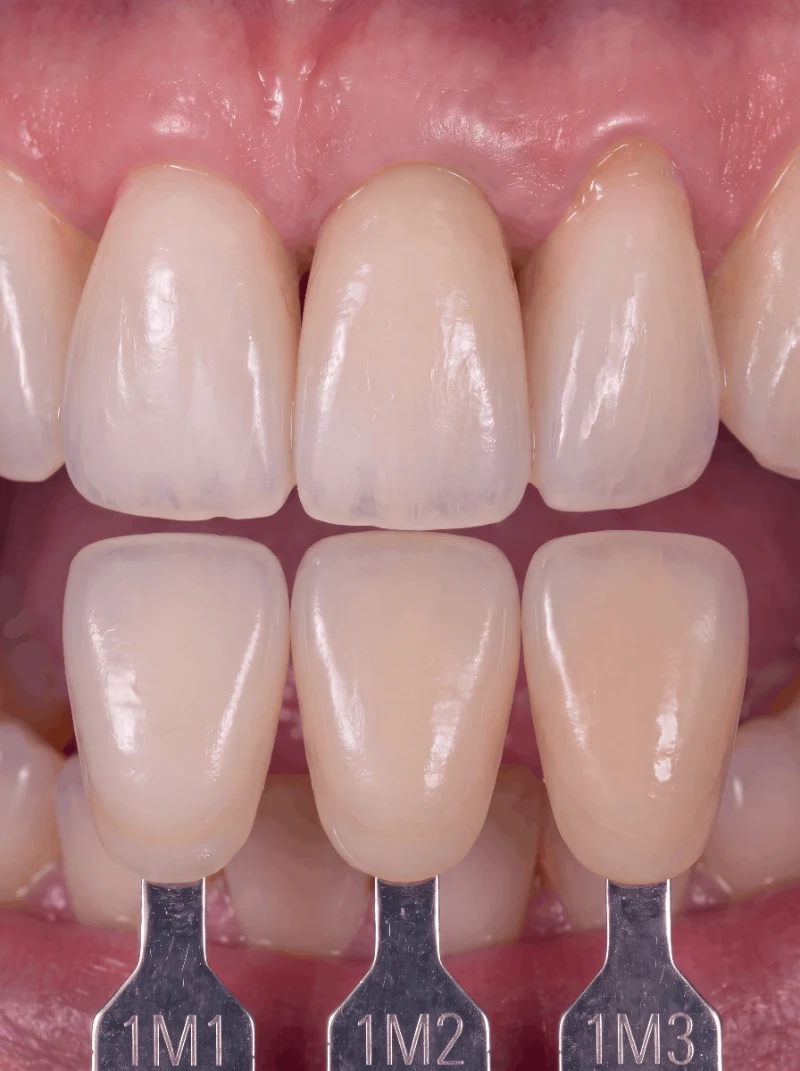
Photograph the closest tab and the next closest. Seeing which direction the match is wrong in is more useful to us than a single tab that is nearly right.
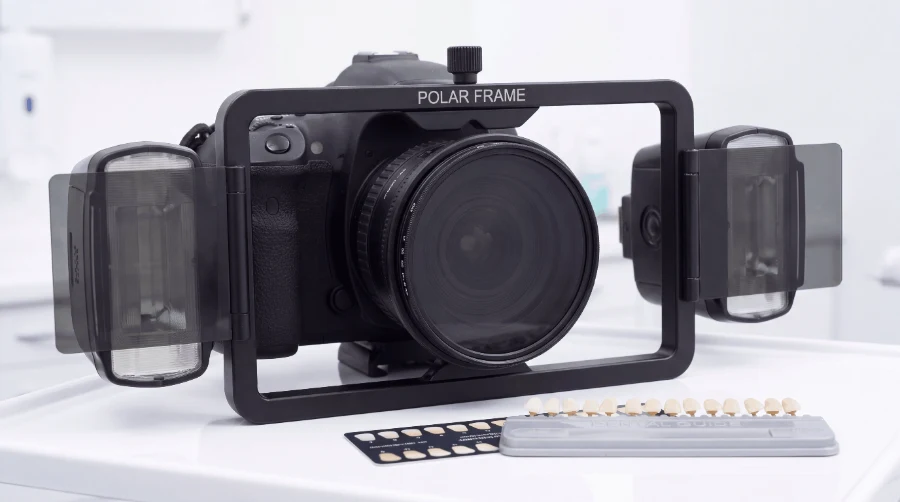
Use flash for both — the two images together are what let us read colour accurately. The standard frame shows the tooth as the eye sees it, surface reflection included. The polarised frame removes that reflection: glare on the enamel reads as opacity the tooth does not have, and cancelling it leaves only the light scattered from within. Dentine chroma, incisal characterisation and the transition between them all become legible. One frame confirms the other.
Cross-polarising filters that fit most camera and phone setups are available from intra.photos.
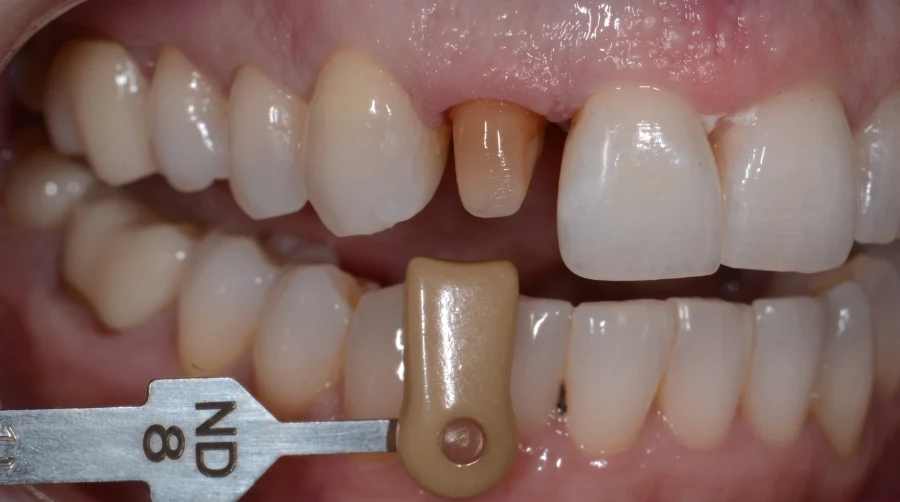
Photograph the preparation against a stump shade tab, dry. On veneers and thin anterior work the substrate colour drives the final result more than the ceramic shade does.
An obscured or interrupted margin, in either an impression or a scan. The design has to bridge the gap, and the restoration seats on tissue or fails to seat at all. Resolvable entirely at the point of capture.
A single-sided or premature bite record introduces an error we cannot detect. The restoration is high, and adjusting it away often removes the anatomy that was designed in.
A shade code with no photograph, no stump shade and no indication of what the patient expects. We match the code accurately and the patient still rejects it, because the code was never the whole brief.
If something does come back. Tell us what failed and send the restoration with the case. We would rather understand the cause than simply remake to the same specification — and where the fault is ours, the remake is at our cost.
If a case is unusual or you are unsure what to send, talk to us before you scan. A two-minute conversation saves a remake.